
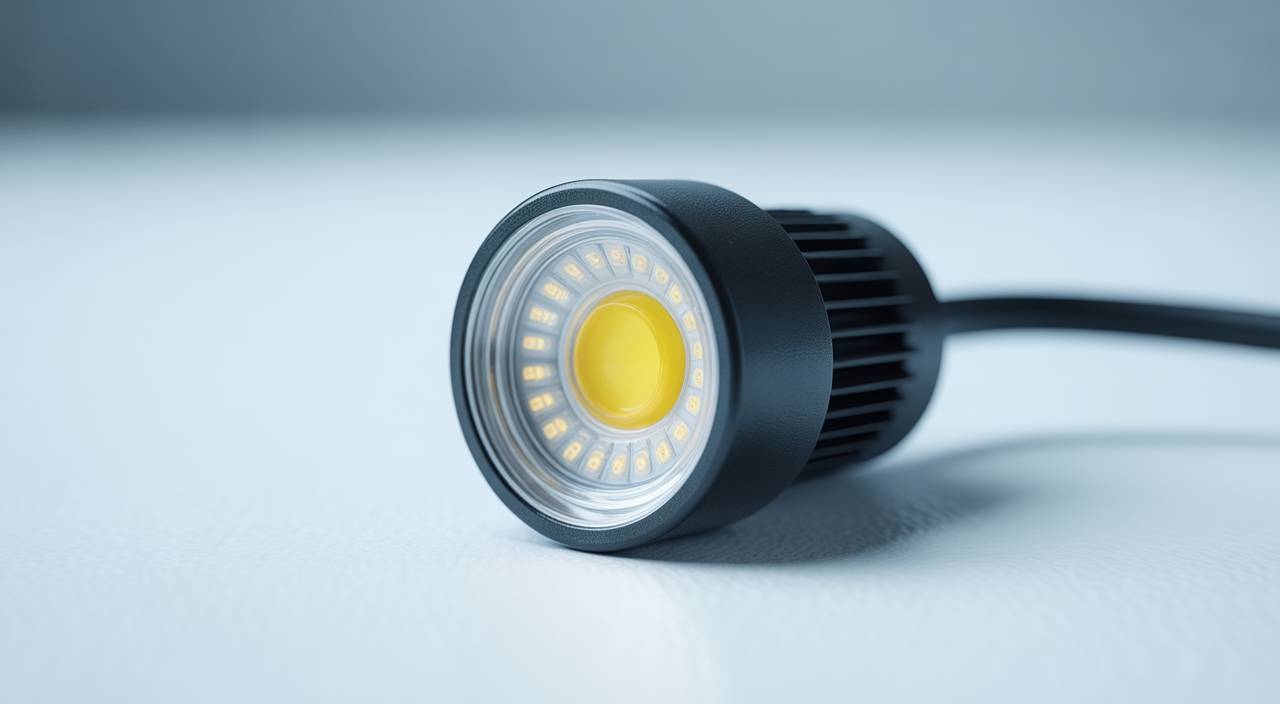
Working on a small model, wearable, or craft and want it to glow like a professional build? Then you need to understand miniature LED lights properly. These tiny LED bulbs can bring your train layout, diorama, costume, or product prototype to life.
You can find a wide range of miniature led lights in different sizes, colors, and brightness levels. The key is to match the LED to your project so you get the right look without burning anything out. Once you know a few basics, choosing becomes very simple, even if you are just getting started.
This guide walks you through types, specs, simple power math, and practical tips. The focus is on hobbyists, students, and Indian makers who want reliable results on a budget.
Types of miniature LED lights you’ll see most often
Most small LED diodes used in projects fall into two broad groups. Both have their own strengths and are useful in different situations.
- SMD LEDs (Surface Mount Device) sit flat on a circuit board and have tiny metal pads instead of legs. They are very compact and great for tight spaces, model trains, and wearables.
- Through-hole LEDs have two metal legs that go through holes in your board or panel. They are easier to solder by hand and better if you are new to electronics.
For true miniature work, SMD LEDs are usually the best choice. They keep your build neat and look more realistic at small scale.
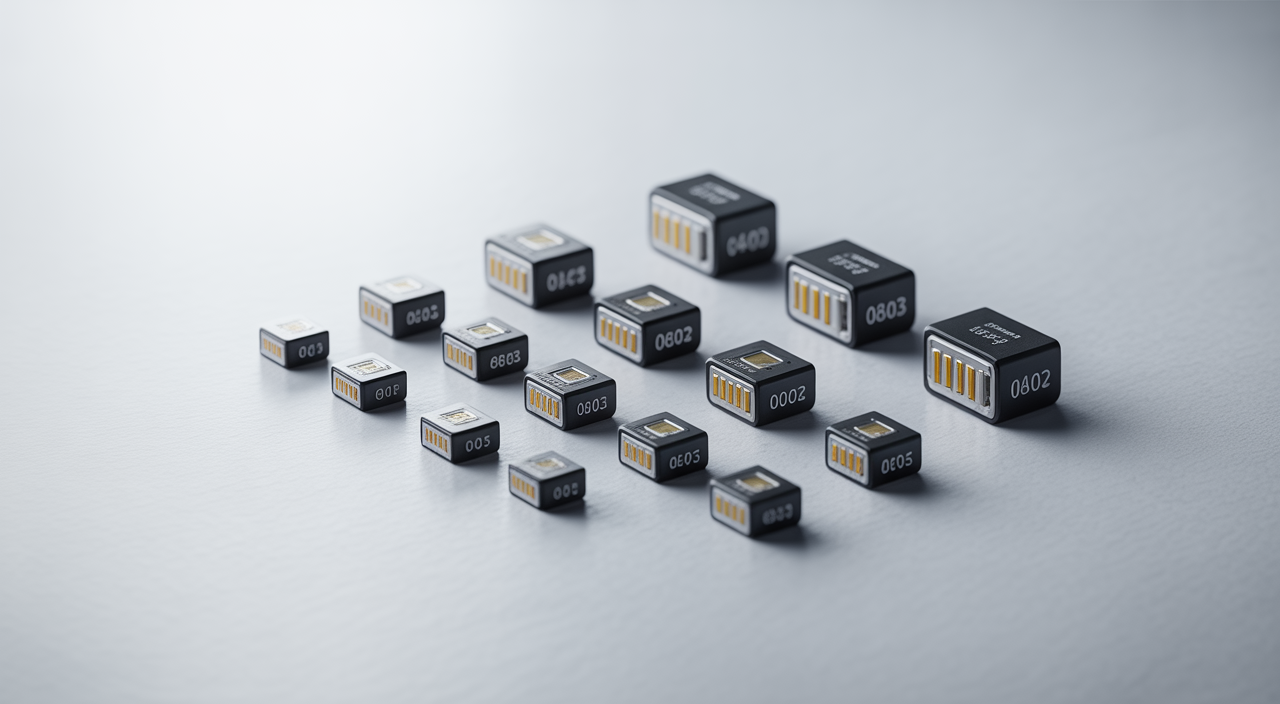
Common SMD sizes: 0402, 0603, 0805
SMD sizes are written as numbers such as 0402 or 0603. These numbers describe the LED’s footprint in inches.
- 0402 is about 1.0 mm × 0.5 mm. Extremely tiny, great for N-scale trains, tiny diorama props, and detailed miniature art.
- 0603 is about 1.6 mm × 0.8 mm. Still small, but easier to solder. Good for model train coaches, small indicator lights, and subtle accent lighting.
- 0805 is about 2.0 mm × 1.25 mm. A bit larger and brighter, very comfortable for hobby soldering and student projects.
If you are a beginner or working at HO scale or larger, 0603 or 0805 is usually a good starting point. Go down to 0402 when you really need invisible wiring and ultra-small lamps.
Color, brightness, and lens style
Choosing the right look matters as much as size. Here are three factors to think about.
- Color: Warm white looks like classic filament bulbs, good for heritage buildings, old coaches, and cozy rooms. Cool white suits modern trains, sci‑fi themes, and clean, bright rooms. Red, green, blue, and amber work for signals, brake lights, and indicators.
- Brightness (often in millicandela, or mcd): Higher numbers mean more light. Too bright can look wrong at small scale, so it is better to go a bit dimmer or run bright LEDs at lower current.
- Lens type: Clear lenses give a sharp, focused spot of light. Diffused lenses spread light more softly, useful for room lighting or glowing signs.
For scale models, slightly dim, warm white, diffused LEDs usually look more realistic than harsh, blue-tinted light.
How to choose the right miniature LED for your project
Before you buy, answer three simple questions. This will narrow your options quickly.
- What are you lighting? A room interior, a signal, a tiny dashboard, or a costume? Interiors need softer, spread-out light. Signals and indicators need focused, clear light.
- How much space do you have? Measure the area. If you only have 1–2 mm of space, 0402 or 0603 micro SMD LEDs are better. With more room, you can use 0805 or even a small through-hole LED.
- What power source will you use? Coin cell, USB, 9 V battery, or a DC adapter? Power choice decides how many LEDs you can run, what resistors you need, and how you wire everything.
Once you know these three things, you can match size, brightness, and voltage ratings without confusion.
Voltage, current, and resistors in plain language
Most white and blue miniature LEDs have a forward voltage of about 3 V. Red, yellow, and some green LEDs are usually around 2 V. Forward voltage is the minimum voltage needed before the LED lights up.
To protect your LED, you also need to control current. Many hobby LEDs are happy at 10–20 mA (milliamps). Run them at the lower end if you want a softer glow and longer life.
A simple way is to use a resistor in series. The basic formula is:
Resistor (ohms) = (Supply voltage − LED voltage) ÷ LED current
Example: Assume a 5 V USB power bank, a white LED with 3 V forward voltage, and 10 mA current (0.01 A).
Resistor = (5 − 3) ÷ 0.01 = 2 ÷ 0.01 = 200 ohms
So a 220 Ω resistor, a very common value, will work well here.
Simple powering tips for hobby builds
- Coin cells are ideal for 1–2 low‑power LEDs in wearables or tiny props. Keep current low to extend battery life.
- USB power banks are great for dioramas or displays. You can feed multiple small LED diodes in parallel, each with its own resistor.
- DC adapters help in permanent setups like layout lighting. Just ensure the adapter is regulated for stable voltage.
If you want color-changing or programmable effects, look for addressable mini LEDs. These have tiny chips inside to control color and brightness from a microcontroller.
Practical soldering tips for tiny SMD LEDs
Soldering 0603 or 0402 LEDs may look scary at first, but a few tricks make it comfortable.
- Use fine-tipped tweezers and a small-tip soldering iron.
- Apply a bit of solder to one pad first, then slide the LED into place and reheat that pad.
- Once it is fixed on one side, solder the other pad with a tiny amount of solder.
- Keep contact time short to avoid overheating.
Practice on a spare piece of stripboard or a dead PCB until you feel confident. Many hobbyists in India build strong skills this way and later move into more complex electronics projects.
Inspiring use cases: from model trains to wearables
Miniature LEDs are very flexible and can add value to many types of creative and commercial builds.
- Model trains and dioramas: Light up coach interiors, station platforms, street lamps, and signal heads. Carefully chosen scale model LEDs can make scenes look like real cities at night.
- RC models and drones: Use bright colored LEDs as navigation lights, brake lights, or underbody glow for night flying and driving.
- Wearables and cosplay: Add tiny LED bulbs to eyes, armor details, jewelry, and props. Low‑voltage LED lights keep things safe and battery-friendly.
If you enjoy improving the look and feel of designs, you may also like this guide on using subtle effects to enhance visual experiences.
Where to buy reliable hobby LEDs
When you shop, look for clear specs: size code, color, forward voltage, and brightness. Good suppliers also provide suggestions for resistors and wiring guides, which saves time.
As you build more complex lighting into your projects, it is helpful to think about the overall creative strategy. Resources like this overview of creating standout visual designs can give you fresh ideas for displays and installations.
Conclusion: Start small, learn fast, upgrade your builds
Miniature LED lights are simple parts with huge creative power. Once you understand basic sizes, voltages, and resistors, you can confidently light any small project.
Begin with a few 0603 or 0805 LEDs, power them from a USB bank with correct resistors, and test different colors and diffusion. As your comfort grows, move into 0402 micro SMD LEDs, flicker effects, and addressable lighting. With each project, your skills and results improve, and your models or products will stand out with clean, professional lighting.
FAQs about miniature LED lights
Q1. How do I solder a 0402 LED without special lab equipment?
A 0402 LED is very small, but you can handle it with basic tools. Use a magnifying glass, fine tweezers, and a thin soldering tip. Pre-tin one pad on your board, place the LED with tweezers, reheat the tinned pad to fix it, then solder the other pad with a tiny amount of solder. Work quickly and keep the iron temperature moderate to avoid overheating.
Q2. Can I power multiple miniature LEDs from a USB port?
Yes, most USB ports can safely provide up to 500 mA or more, which is enough for many small LEDs. Connect your LEDs in parallel so each one has its own series resistor, calculated using the supply voltage and LED specs. As long as the total current stays within the USB limit, this is a very convenient way to power model layouts, displays, and dioramas.
Q3. What is the difference between mini LED and micro LED in simple terms?
Mini LEDs are very small backlight or indicator LEDs, often used as individual lamps or in strips. Micro LEDs are even smaller and are used to build high‑resolution displays where each pixel is a tiny LED. For hobby projects like models and crafts, you mostly work with miniature or mini LEDs, not true micro LED display technology.
About Author


